Datamap Bulk Update
Overview
The Bulk Update feature is used to make updates and edits for selected System fields of any number of systems at a time.
To update systems using the Bulk Update feature:-
1. Logging In
Login to the Data Governance Tool by entering your credentials.
2. Navigating to Datamap Module
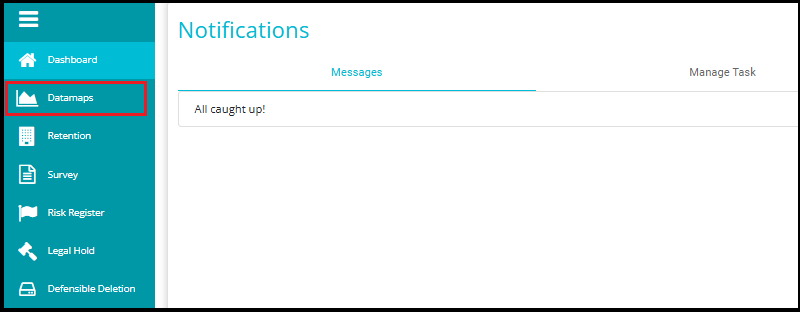
Click on the hamburger icon
 on the top left corner.
 Click on 'Datamap module' from the menu.
Navigating to Grid View
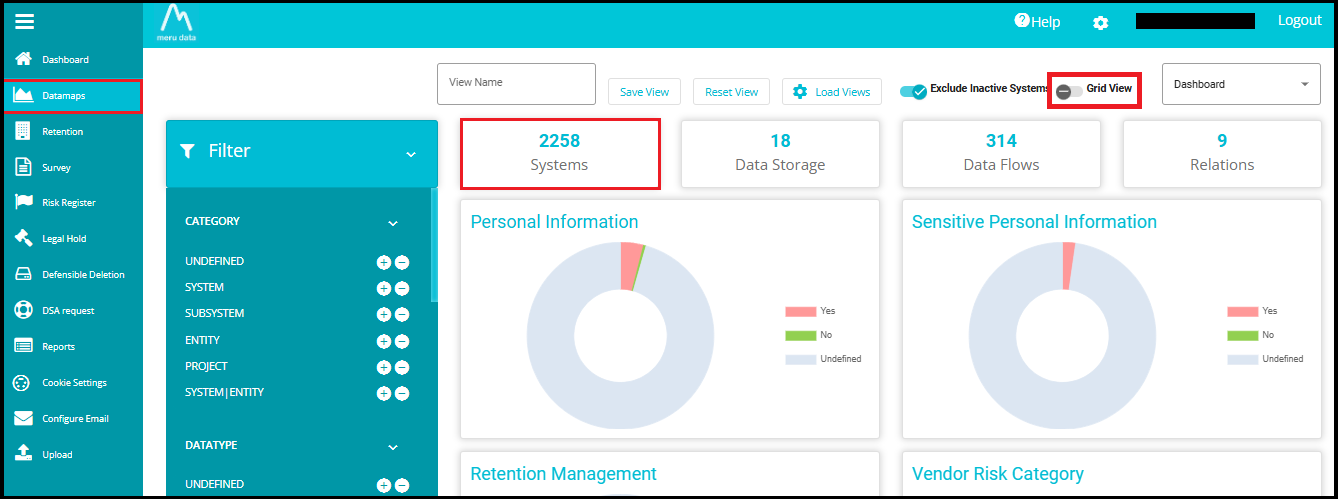
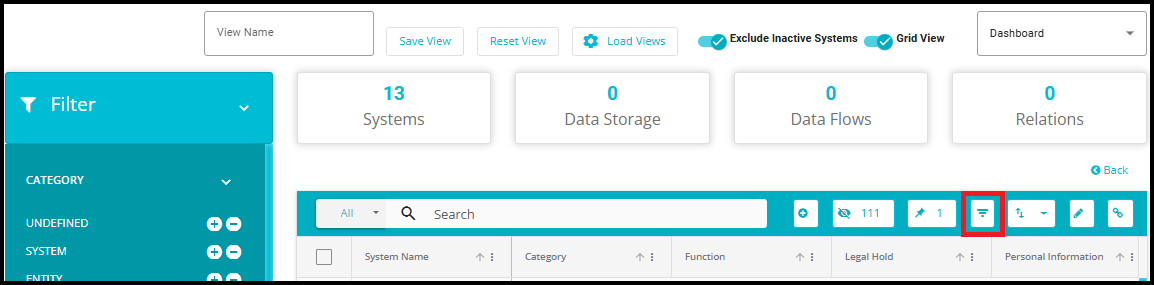
Click the "Grid View" toggle to switch from the current view to the grid layout.
Or simply click on "Systems", which will directly take you to the same Grid View layout.
- Search for the Group of systems you want to update.

- To filter systems, click on the filter button.
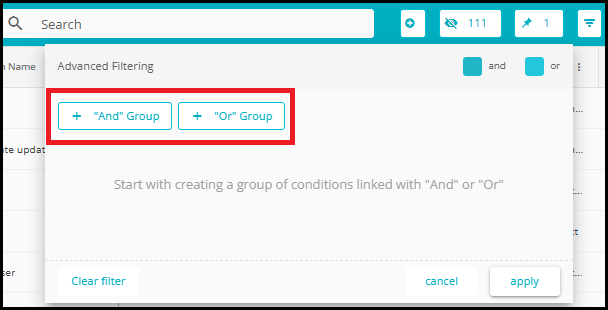
- From the pop-up box that opens, enter your filter configuration.
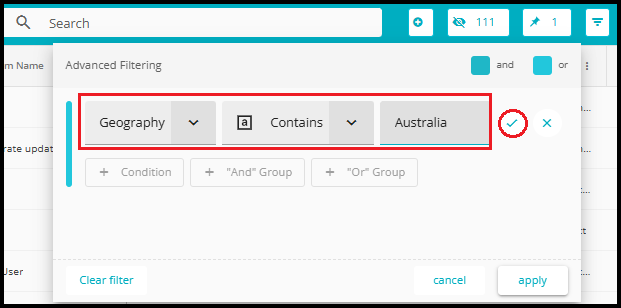
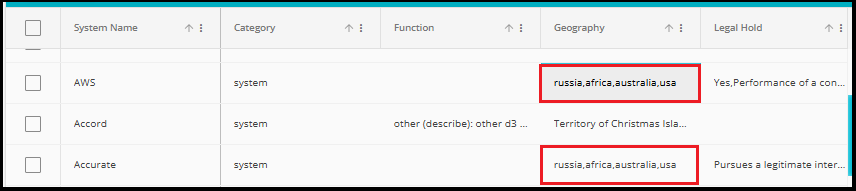
The above filter has been configured to obtain all the systems that have Australia as the value in the geography field.
Click "Apply" to apply just the current filter condition.
Click the tick symbol (✔) to add more filters or groups before applying them all together.
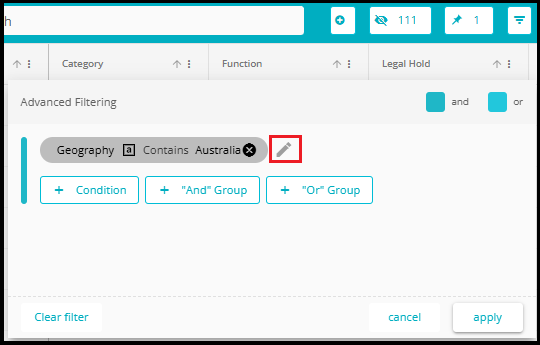
- In the Advanced Filtering interface, if you want to change or modify an existing condition (e.g., Geography Contains Australia), you can do so by clicking the edit symbol next to the condition. This allows you to update the column, filter, or value as needed.
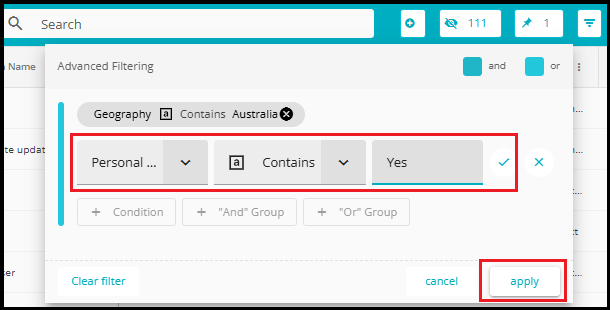
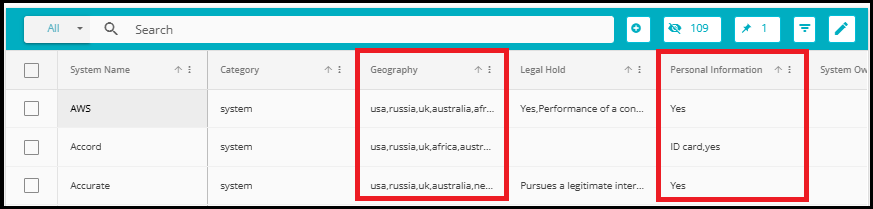
- Now the configuration will filter the results further and only provide the systems with Australia as the value in the geography field and which have the value Yes in the Personal Information field. In a similar way, the systems can be filtered to bring the desired results.
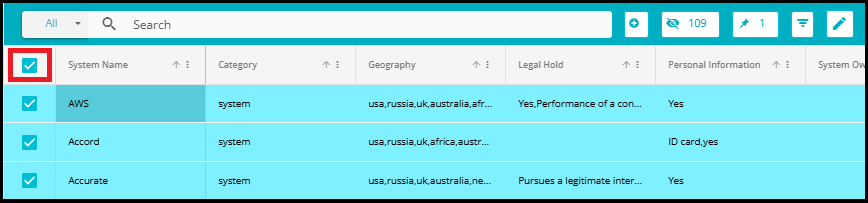
- Select All DataMaps: If the user wants to select all available DataMaps, they can simply click the highlighted "Select All" checkbox.
NOTE: When you click the "Select All" checkbox, it only selects the items visible on the current page.
- For example, if there are 47 pages of DataMaps and you're on page 1, clicking "Select All" will select only the 50 DataMaps shown on that page.

- When you navigate to page 2, you'll notice that no DataMaps are selected, even though you previously clicked "Select All" on page 1.
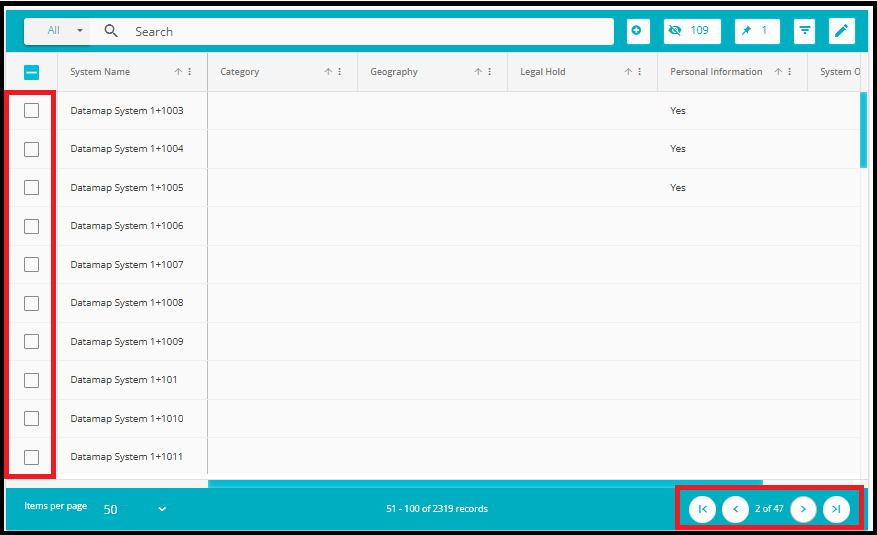
Select Individual DataMaps:
- If the user prefers to select specific DataMaps, they can do so by clicking the checkbox next to each DataMap name individually.
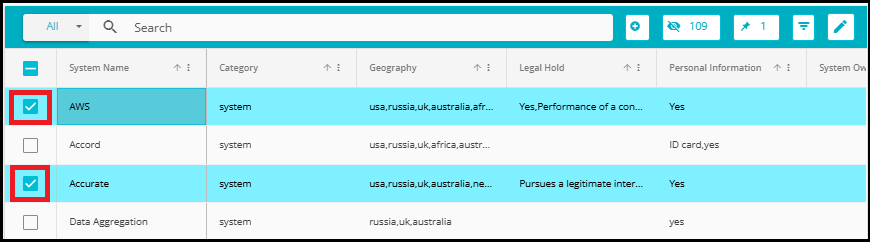
- On doing so, a tick will appear beside each system on the grid. You can deselect the systems you don't want to update.
- Next, once the required systems have been selected, click on the Bulk operation Button.
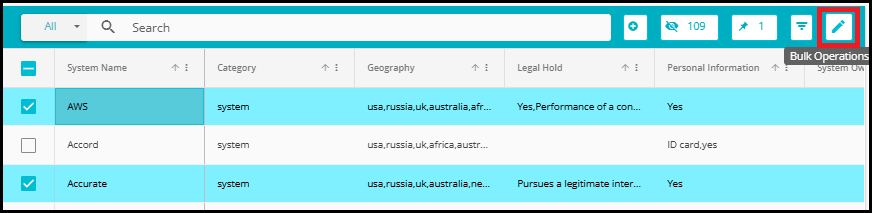
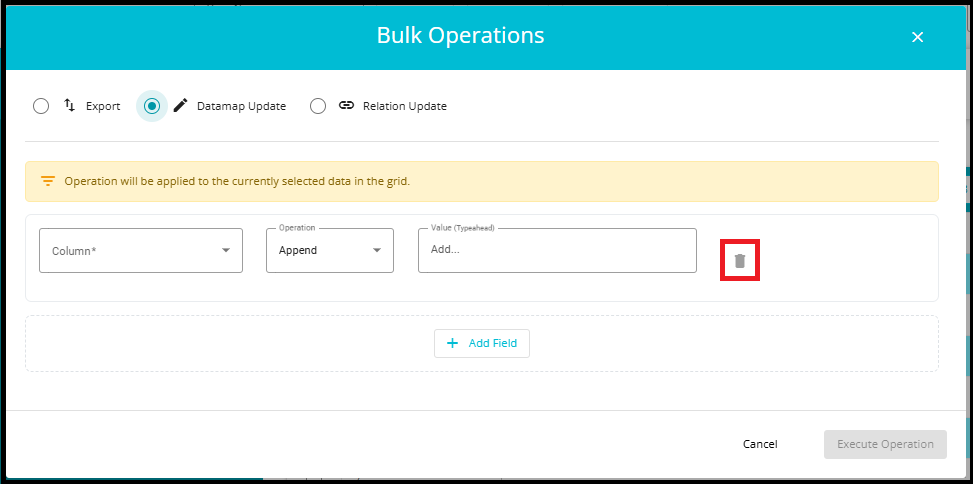
A popup window will appear with multiple operation types.‑up window will appear with multiple operation types.
Select the Datamap Update tab.
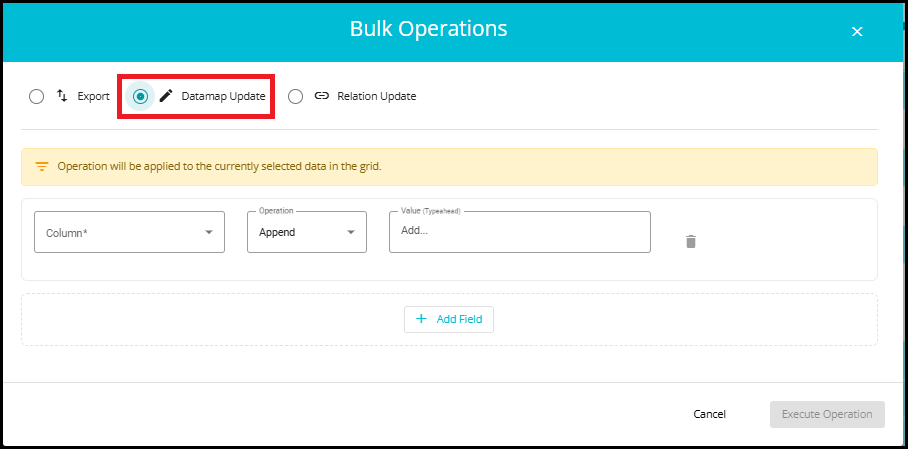
Bulk Update can be performed on any Datamap column. However, the available operations depend on the type of values the column supports:
Some columns accept only predefined values.
Some columns accept custom values in addition to predefined ones.
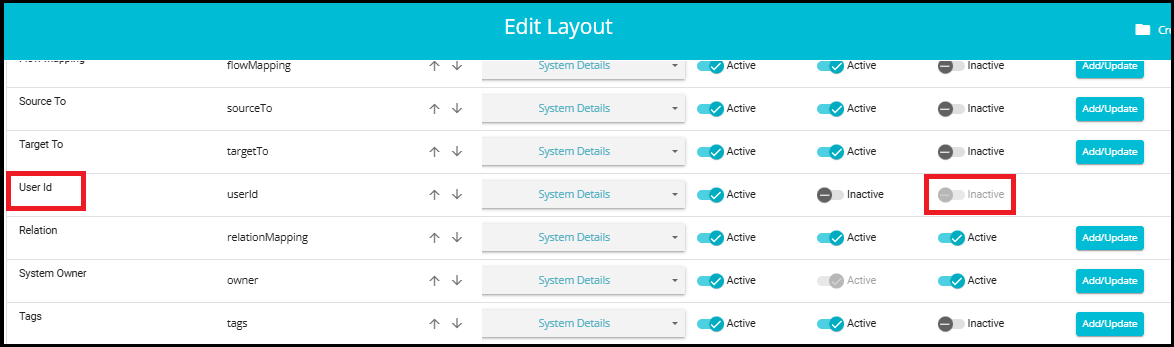
If the Custom Value option is set to "Inactive" in the Edit Layout, you cannot add or enter any custom value during a Bulk Update. In such cases, the system will display a message indicating: "Custom value not allowed."
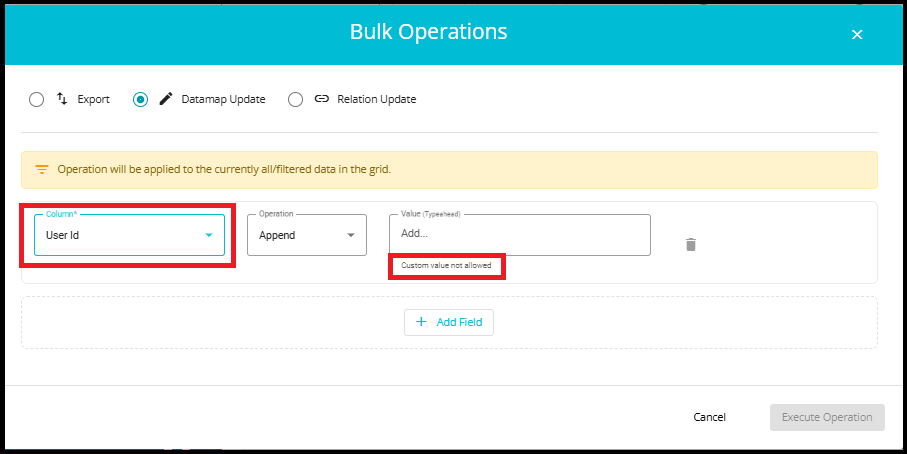
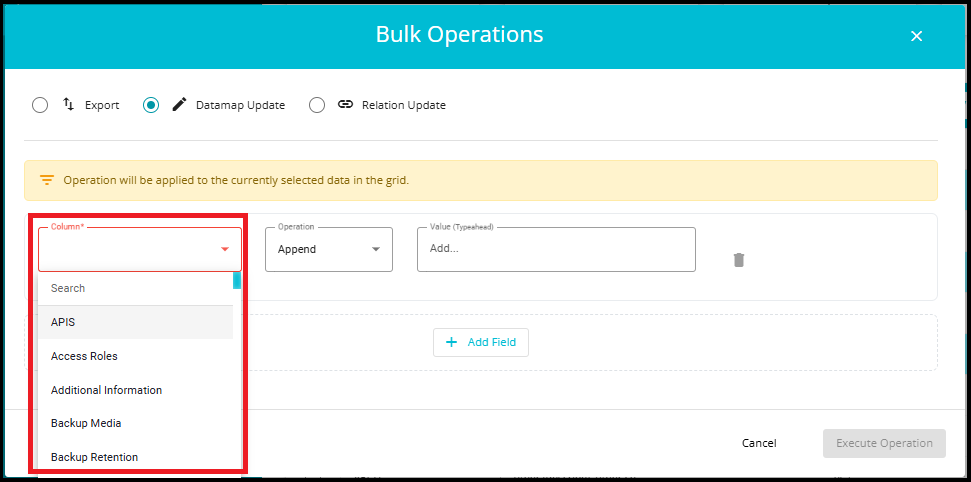
- Here, from the Column drop-down, select the Column you want to edit/update.
- Next, from the drop-down, select the operation you want to perform on the field.
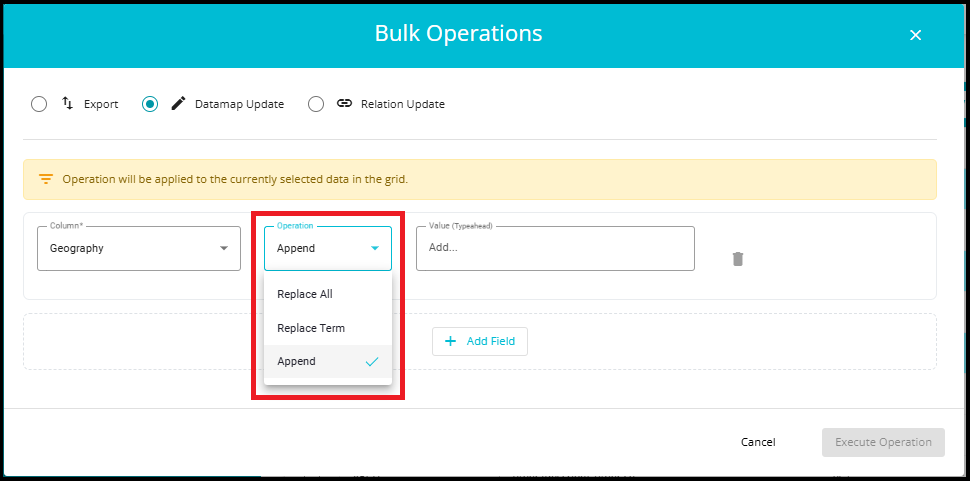
Note: The operation options displayed in the Bulk Update window depend on the type of Datamap column selected.
For example, if you select "Category", which is a predefined column type, only the Replace operation will be available for selection. Other operations---such as Replace Term or Append---will appear as read‑only and cannot be selected.
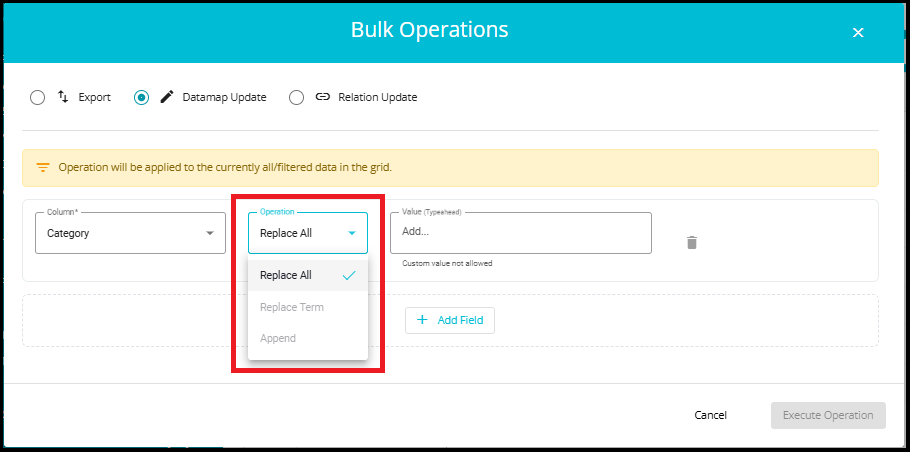
Replace All: This operation will replace the entire current value in the field with the value of your choice.
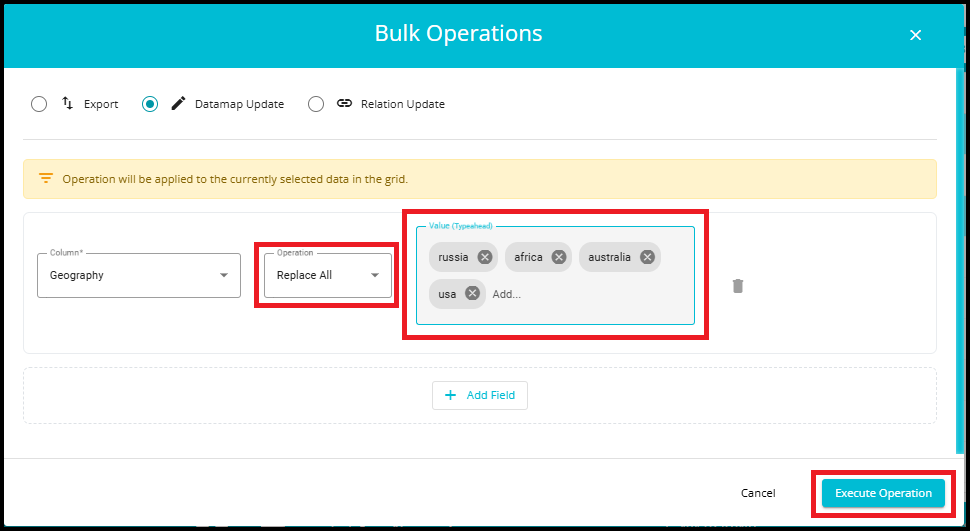
- After clicking Execute Operation, a confirmation message will appear at the bottom of the page: "Request Queued Successfully, you will be notified shortly."

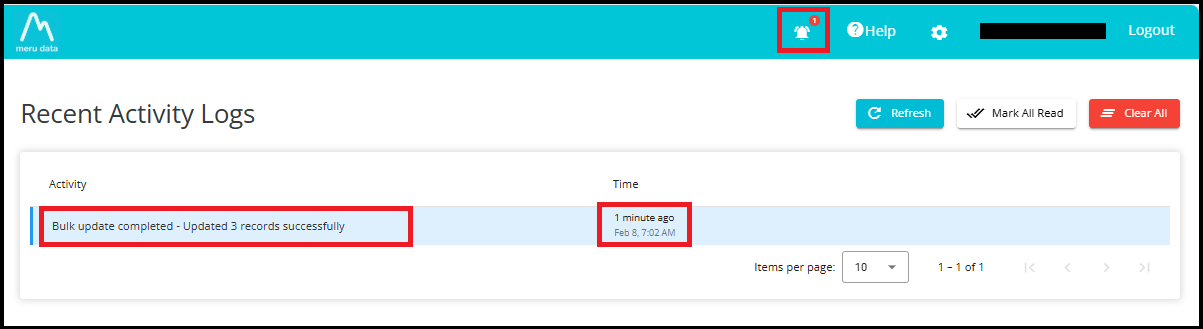
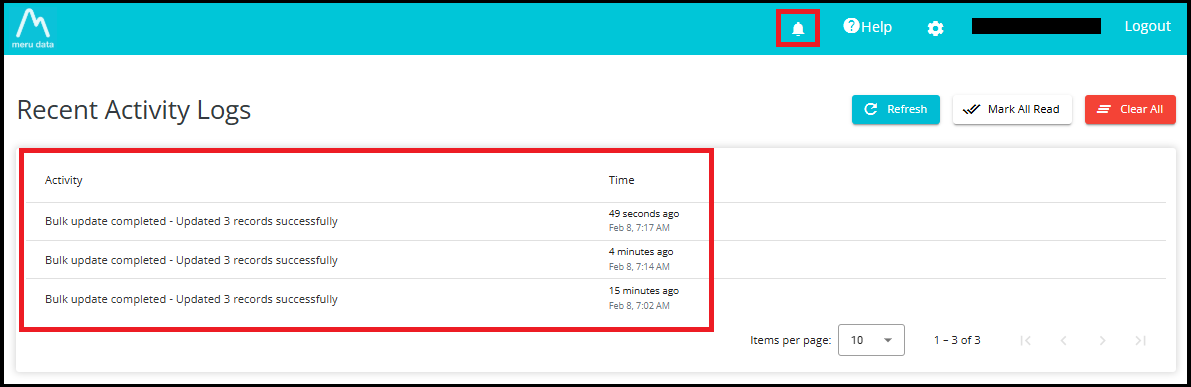
Once the Bulk Update process finishes, a notification will appear in the Activity Logs indicating the number of records updated successfully.
The Time column shows exactly when your bulk relation update was completed.
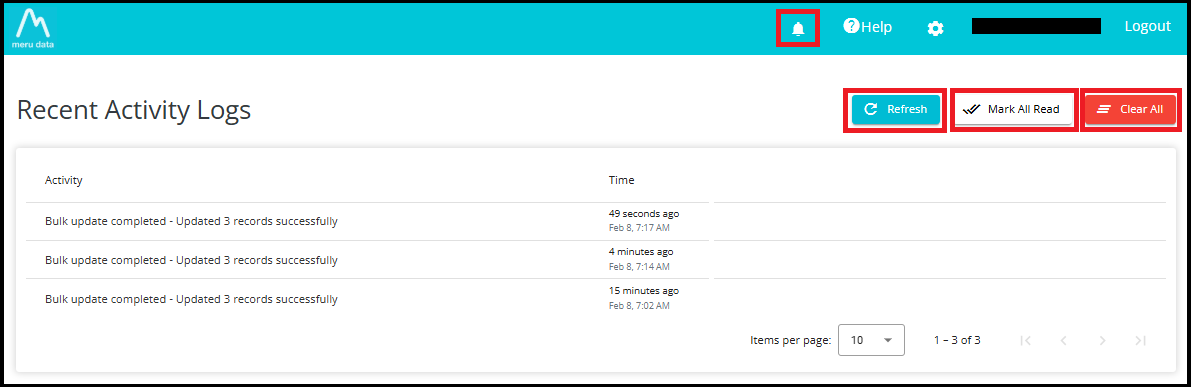
The Activity Logs page provides three important control buttons---Refresh, Mark All Read, and Clear All---to help you manage your notifications efficiently.
1. Refresh
The Refresh button reloads the Activity Logs list.
Use this when:
You have recently performed an operation (like Datamap update)
You want to check if a new log entry has arrived
You want to ensure the latest status is displayed without leaving the page
Example: If you have just triggered a bulk export, the Activity Logs page may not immediately show the new entry. By clicking the Refresh button, the list updates to display the latest status---for instance: "Bulk update completed - Updated 3 records successfully"
2. Mark All Read
The Mark All Read button changes the status of all notifications from Unread to Read.
Unread notifications normally show a red indicator on the bell icon
After clicking Mark All Read, the indicator disappears
This helps you keep track of which updates you have already reviewed
Example: If the bell icon shows 1 new notification, clicking Mark All Read will remove the red badge, indicating there are no pending unread messages.
3. Clear All
The Clear All button deletes all activity log entries from the list.
Use this when you want to clean up old notifications
It removes every log entry displayed on the Activity Logs page
Be cautious---this action cannot be undone
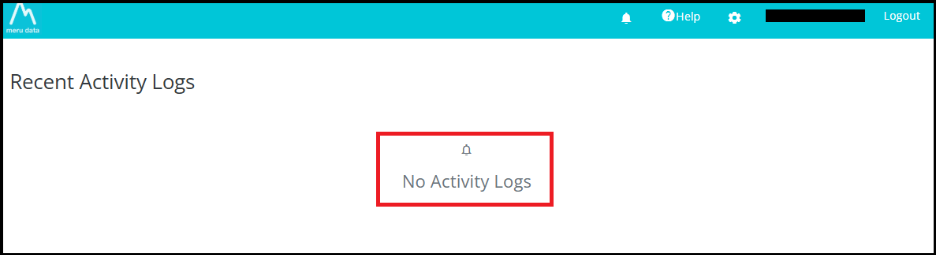
Example: If your list shows older entries like multiple "Bulk update completed" logs, clicking Clear All will wipe the entire history, leaving the page empty.
Example: Using the "Replace All" operation, previous values are now being replaced with new region values: Russia, Africa, Australia, and USA.
Replace Term: This operation is used only for multi-entry fields or Text fields.
- In the Bulk Update interface, the "Replace Term" operation allows users to replace only one specific term at a time within selected column.
Note: The behavior of Typeahead fields is completely dependent on the client's configuration. They can configure any field to function as either a predefined-value field or a custom-value--enabled field.
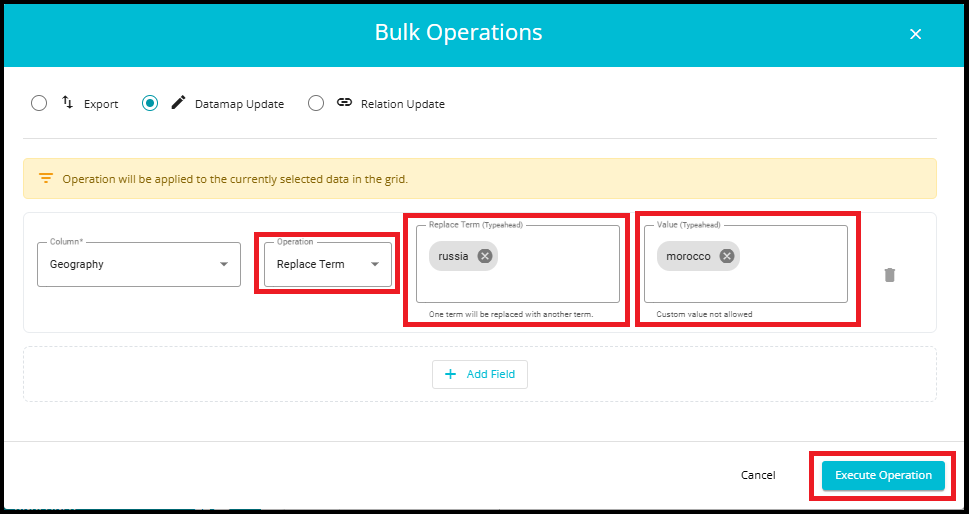
- In this case, the term "Russia" is being replaced with "Morocco", while all other values like Africa, Australia, and USA remain unchanged.

Append: The "Append" operation is used to add a new value to the existing list of values in a selected column.
- This operation is useful when you want to expand the data without modifying or replacing existing values.
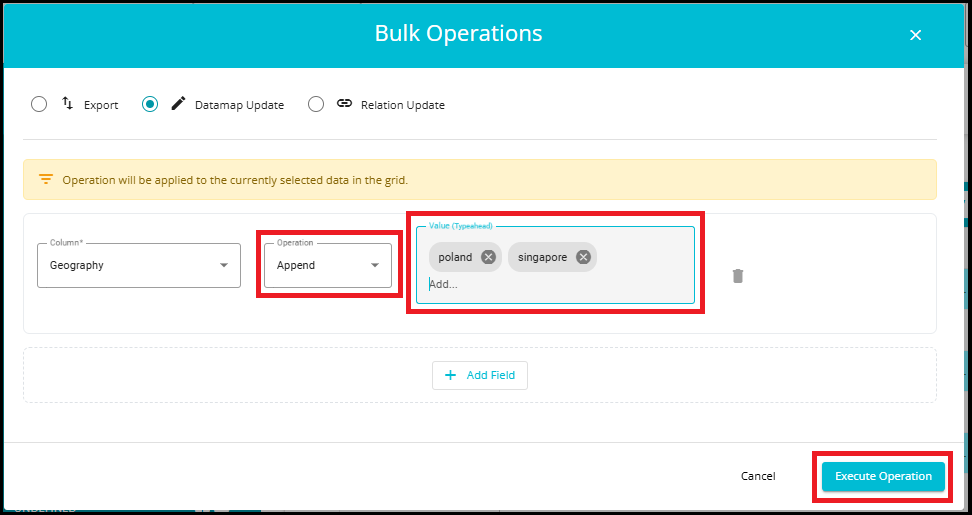
For example:
The column "Geography" currently includes: Morocco, Africa, Australia, USA.
Using Append, new values "Poland" and "Singapore" are added.
After the update, the column will include: Morocco, Africa, Australia, USA, Poland, and Singapore.

- Every time you perform an update, whether it's a Replace, Replace Term, or Append operation, the system will generate a notification in the Activity Logs.
- To add a new field, click the + Add Field button.

- To delete or remove a field, click the bin (trash) icon next to the field you want to remove.