Survey Import
Overview
Survey's can be downloaded, answered on an excel sheet and uploaded back to the Tool. This is used to input multiple responses from multiple survey groups at one go i.e., responses from different survey groups can be added to one sheet and reuploaded.
To download a survey, follow these steps:
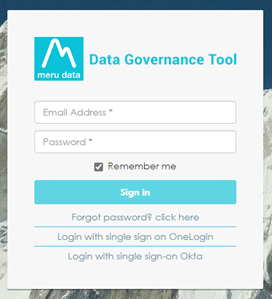
Log in to your Data Governance Tool account.
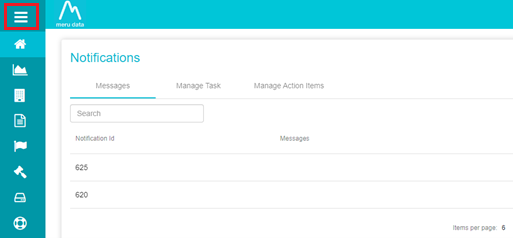
Click on the hamburger menu on Data Governance Tool
From the menu, click on Uploads

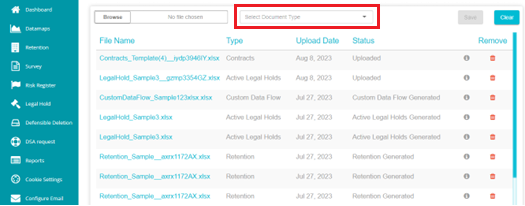
On the Upload page, click on the Select Document Type drop-down menu
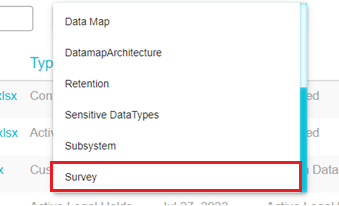
From the Document type drop-down menu, scroll down to select Survey
The Survey Upload page will open. From here you can download the required surveys. Click on the Select dropdown.
From drop-down menu and select the survey you want downloaded
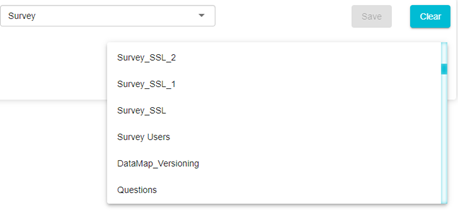
Once the survey has been selected, click on the Export button
The survey will be downloaded to your device. Open the survey with Excel.
The survey will appear on the excel sheet as shown below

Survey Group: Enter a name of the survey group you are creating here. Each row of responses is treated as a new survey group. You can create multiple survey groups here and add the responses of those groups as required. Note: We can now use the existing survey group name. The response will be generated as the latest version.
Users: Enter the email addresses of those users associated with this group. Multiple emails can be added by separating them with commas.
Questions: Each question in the survey will be displayed on a new column. Enter the response to that question in the cell below that question.
In the example below, multiple survey groups have been created with the responses of each group

Note: Some survey questions could be in a drop-down, radio group, Boolean or Rating format (the question itself will have options to choose from. An example of a radio group question is given below)
In such cases, if the answer entered on the excel sheet is not a part of question itself, it will be considered an error and the answered entered on the sheet will not be visible once the survey has been uploaded to the Tool. For example, if the answer entered on the sheet to the above question is Company Data, then this answer will automatically be deleted. If the question includes "Other (Describe)," the non-existing value will be appended as "Other" with the specified value.
Once all the responses have been entered, save the survey on your device
To upload an answered survey back to Data Governance Tool, follow these steps:
From the Survey Upload page, click on Browse
Select the survey you want to upload
Next, select the same survey, from the Select Survey drop-down menu. On doing so, the survey being uploaded will get mapped to the existing survey on the Tool. For example, you downloaded SurveyCC1 from the tool and answered this survey on your device. You now want to upload this survey back to the tool. To do this, you must click on Browse and select the answered version of SurveyCC1 from your device. Next, from the Select Survey drop-down menu, once again select SurveyCC1. On doing so, the responses to the survey that you entered on the excel sheet will get mapped to the that survey on the Tool.
Click Save to upload the survey
The survey will get uploaded to the Data Governance Tool. The status of the survey file at this time will be Uploaded. A web job runs every 5 minutes, which will change the status of the uploaded file. Refresh the page to view the new status
After the web jobs runs, the status of the file will change to Report Generated.
Click on Report Generated to view the file and verify that the details are as required.
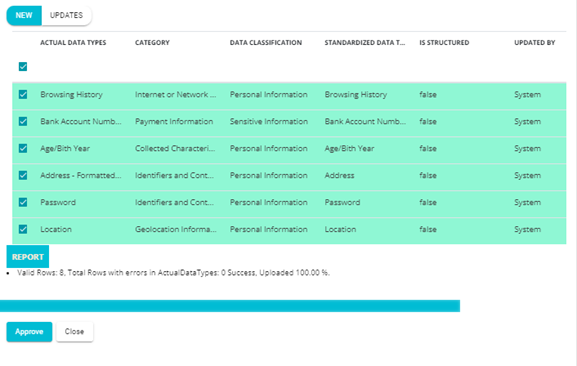
Once the verification is done, click the Approve button present on the bottom left of the screen.
Note: New groups will appear under the "New" tab, while existing groups will be listed under the "Updates" tab.
On approving the survey file, the following pop-up will appear
The status of the file will now change to To be Approved
Once the web job runs, the status of the file will change to Survey Generated
To view the uploaded survey, follow these steps:
The uploaded survey will be visible on the Survey page

The uploaded survey will also be visible on the View Answers tab of the Survey Dashboard for those users who were selected on the excel sheet as part of the Survey Group. This is because the survey gets uploaded with the answers
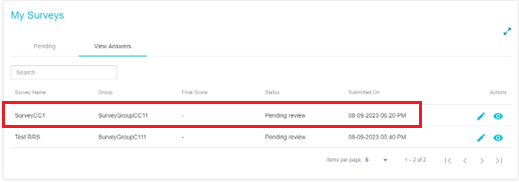
To view the answer from the uploaded surveys, click on the View button here
The answers from uploaded surveys can viewed from the Survey module as well. To do so, click on Survey from the hamburger menu.
From the list of surveys, click on the Analyse button for the uploaded survey

On the View Answers section, from the Select User Group drop-down, select any of the Survey User groups that were created on the excel sheet.

The answers of that group will be shown here.

On the Distribution Details section, File Import will be shown as the distribution mode of the survey.
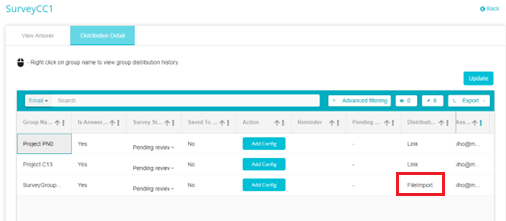
If the configuration exists, the score will be calculated automatically; otherwise, the user must navigate to the configuration screen and manually click "Calculate Score."
For detailed information, Refer to Survey Score Config.docx.